Showing posts with label charm. Show all posts

Sunday, July 14, 2013

DIY beach wishing bracelet!


I collected some shells at the beach and I thought this would be a cool way to use them! This is a fun idea for kids or just to wear as an accessory! 


  • A clipboard
  • Scissors
  • Twine/string/yarn/whatever
  • Shells with holes in them                                                                                                                    (you can find them pretty easily on the beach w/ holes but you could also drill holes)
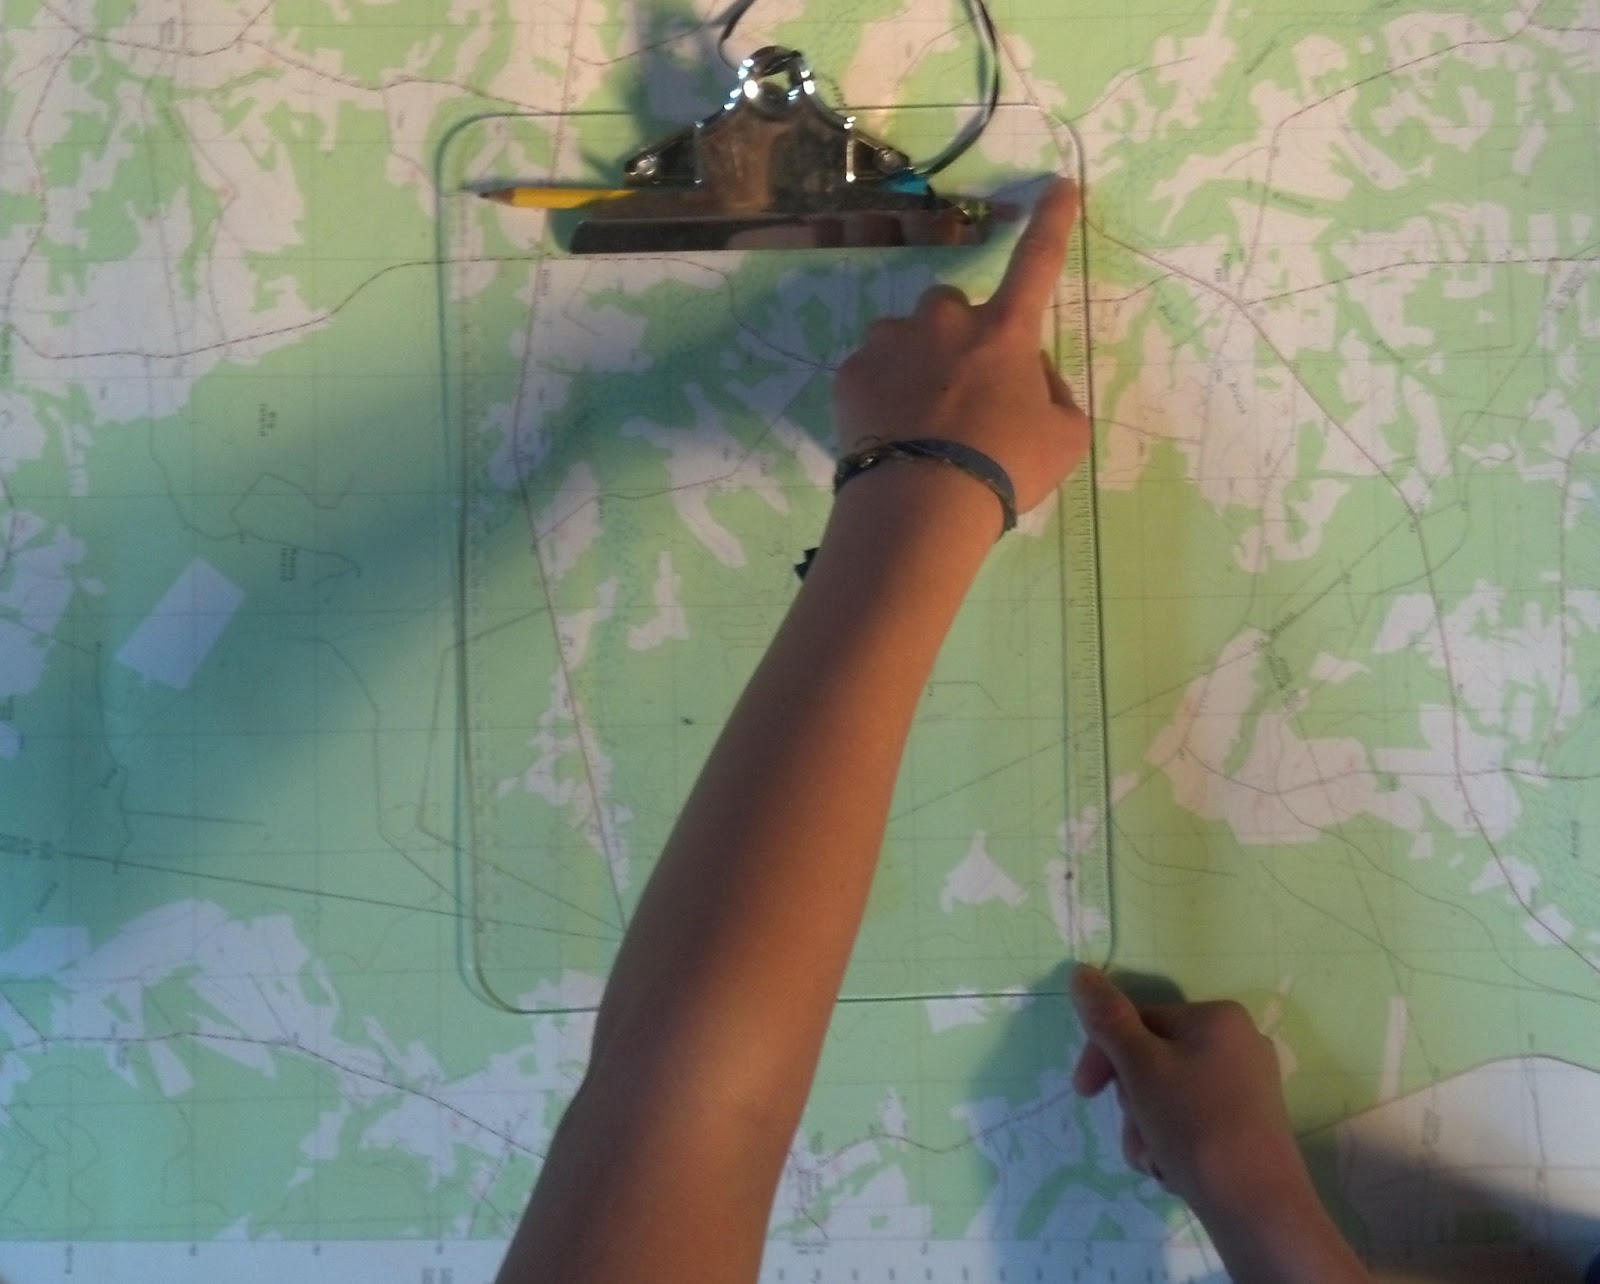
  • A ruler (unless you have one on your clipboard like I do


1. Measure two pieces of string that are 12 inches long


2. Measure one piece of string about 18 inches long


3. Position the string so that the two smaller pieces are in  the middle of the big ones, 
leaving about 3 inches on either side.


4. Tie a knot at the beginning of the shorter strings


5. Clip onto clipboard and start Braiding!


6. Braid until it measures about 4 1/2 inches give or take

7. Tie a knot at the 4 1/2 inch mark. 


8. thread on the shell and tie a knot around the hole. (optional)

9. Tie another knot at the other side of the shell. 
10. Braid until the end of the short strings

11. Tie a knot at the end


12. Trim the short strings down to stubs (NOT the long ends)


13. Add a clasp if you want to be able to take it on and off,
OR
 Tie around your ankle or wrist using the long ends and trim to your liking. 


14. Flaunt it!


Wishing Bracelet: 
Think of a wish as you tie it around wrist or ankle. Don't tell the wish to anyone! When your bracelet breaks, your wish will come true!

Sorry some of these pictures aren't of the best quality, I try!


Wednesday, June 5, 2013

DIY custom pendants


Today I will be showing you how to make your own pendants!


  • A 1 inch hole punch
  • Diamond glaze
  • A blank 1 inch pendant
  • a chain
  • a paper photo of your choice
  • A pin
  • Any accessories you may want to add!


1. Flip over your punch so that you can see the hole. Then center it on your design and carefully flip it over! Cleanly press the top button and punch out your picture. I centered mine on the lady's face :)

2. Carefully press your picture into the pendant. It will fit snugly, but it will work! Add any accessories you want. I just added a tiny key that I have.

3.  Use a tad bit of any glue (I used Elmer's) And then spread it with your finger. Then press your picture back into place along with your charm or accessory.

4.Glaze tends to harden in the nozzle of it's bottle, so you will need to use your pin to poke through any residue from the last use. just poke it through once, do this until the glaze flows through freely. Sorry for the cluttered craft area background c:

5. Squeeze the bottle HARD and put glaze in drop by drop. Make sure it covers your accessory and the entire surface of the pendant. Pop any bubbles that you see with your pin.

6. The glaze should dry clear. I let mine dry for 24 hours but it depends on the glaze you use. Poke the very edge with a pin to make sure it is 100% dry before adding the chain or risk having a huge finger print in the middle. :) Add your chain and show off! I made this one for my mum! She loved it. :) Please email me the pictures if you try this yourself!

Enjoy your pendant!