Showing posts with label how to. Show all posts

Sunday, July 14, 2013

DIY beach wishing bracelet!


I collected some shells at the beach and I thought this would be a cool way to use them! This is a fun idea for kids or just to wear as an accessory! 


  • A clipboard
  • Scissors
  • Twine/string/yarn/whatever
  • Shells with holes in them                                                                                                                    (you can find them pretty easily on the beach w/ holes but you could also drill holes)
  • A ruler (unless you have one on your clipboard like I do


1. Measure two pieces of string that are 12 inches long


2. Measure one piece of string about 18 inches long


3. Position the string so that the two smaller pieces are in  the middle of the big ones, 
leaving about 3 inches on either side.


4. Tie a knot at the beginning of the shorter strings


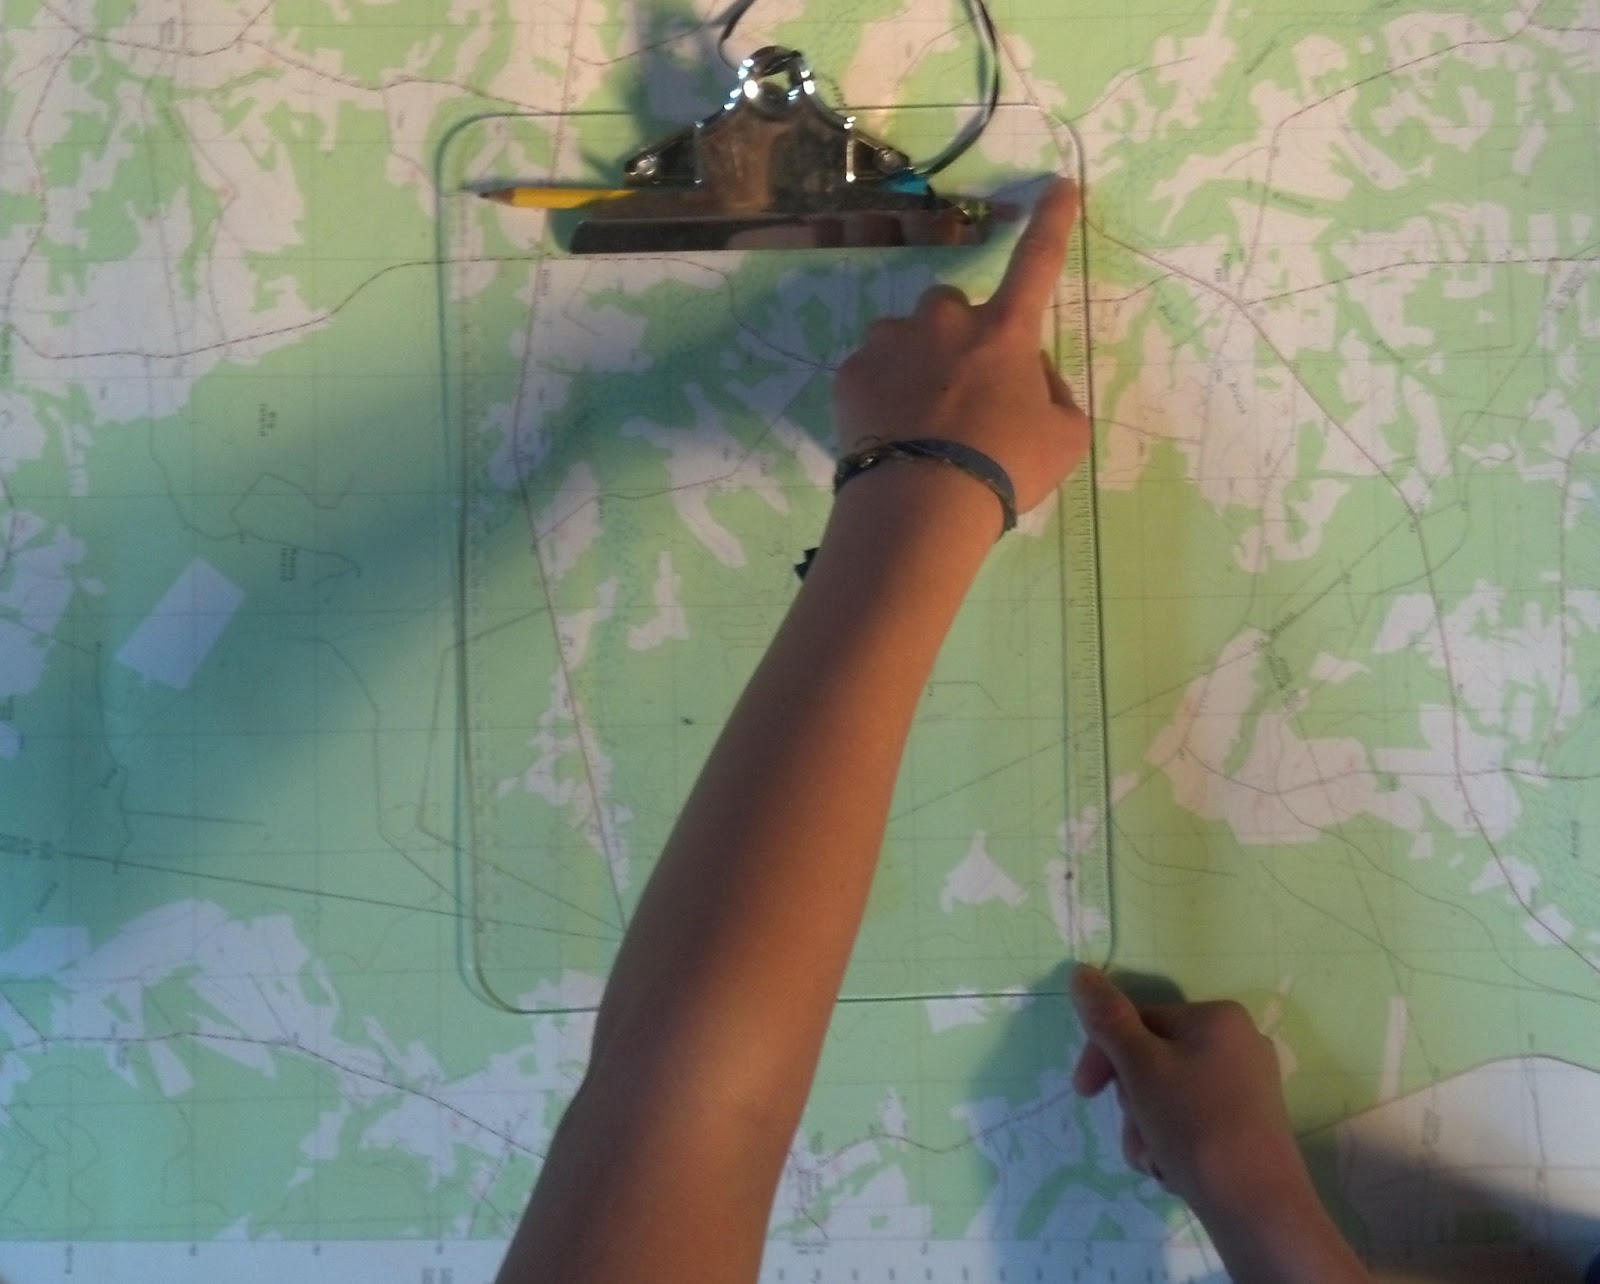
5. Clip onto clipboard and start Braiding!


6. Braid until it measures about 4 1/2 inches give or take

7. Tie a knot at the 4 1/2 inch mark. 


8. thread on the shell and tie a knot around the hole. (optional)

9. Tie another knot at the other side of the shell. 
10. Braid until the end of the short strings

11. Tie a knot at the end


12. Trim the short strings down to stubs (NOT the long ends)


13. Add a clasp if you want to be able to take it on and off,
OR
 Tie around your ankle or wrist using the long ends and trim to your liking. 


14. Flaunt it!


Wishing Bracelet: 
Think of a wish as you tie it around wrist or ankle. Don't tell the wish to anyone! When your bracelet breaks, your wish will come true!

Sorry some of these pictures aren't of the best quality, I try!


Tuesday, July 2, 2013

DIY cat party hat!


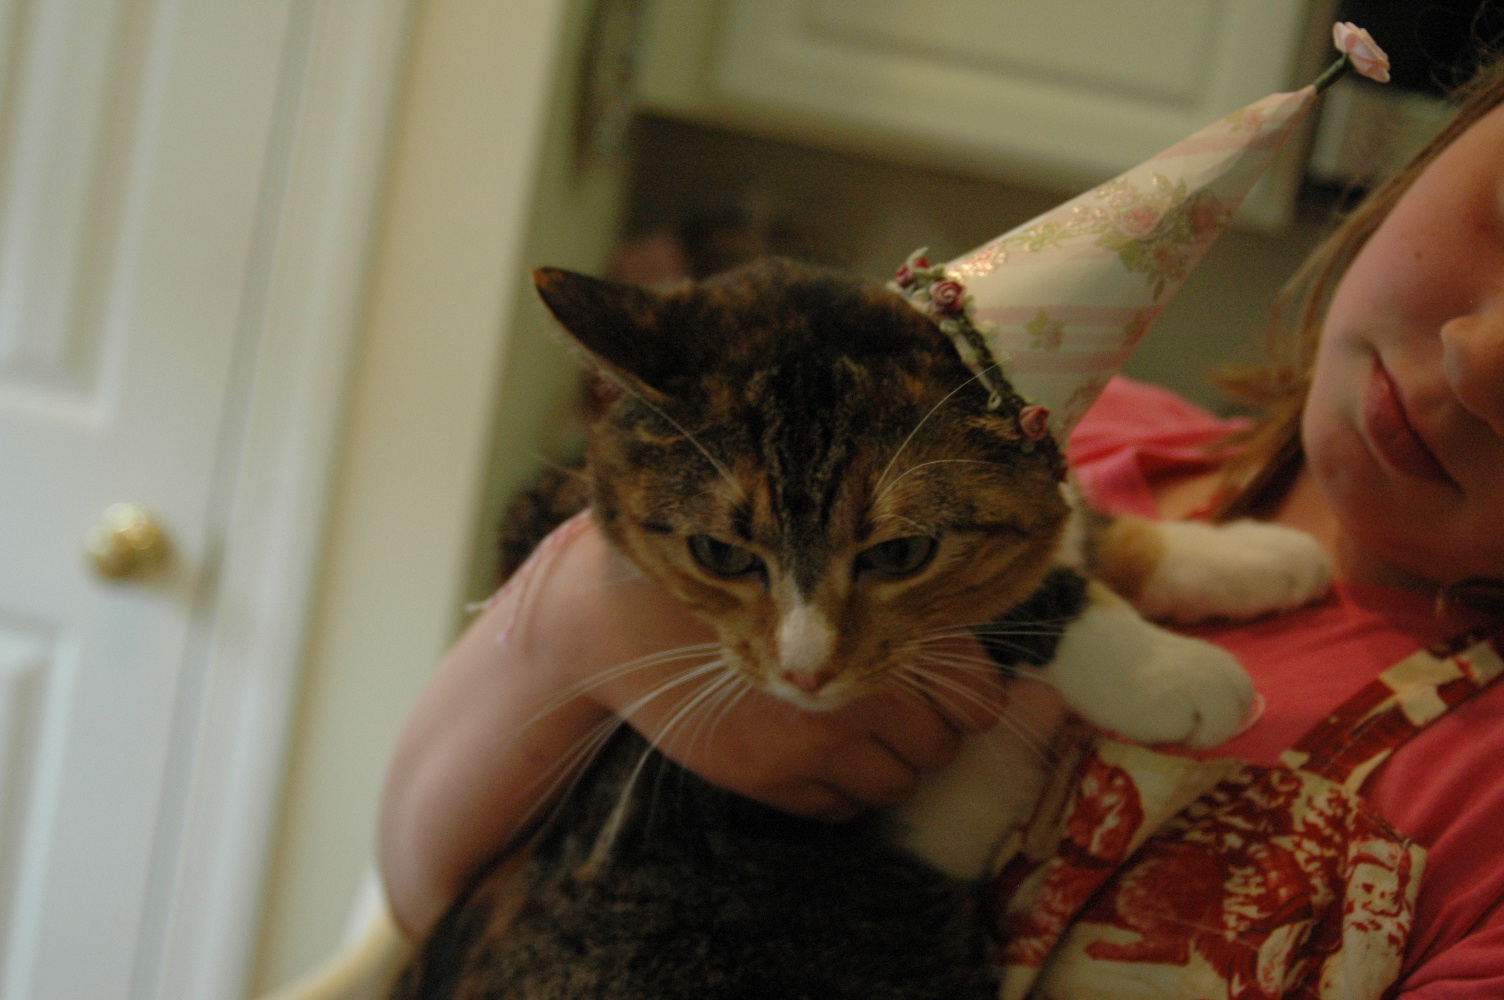
Today me and my friend Lilli from the gardenia elephant decided to make cat party hat for her cat Rosie's birthday!


  • The template (downloadable here)
  • Scrapbook paper
  • Scissors
  • A pencil
  • Glue
  • Ribbon/little things to decorate
  • Tape
  • Doodle twine/string

1. Cut out the template


2.  Trace the template onto the back of the scrapbook paper


3. Cut out the scrapbook paper template-mabob


It is very hard to do this without wrinkling it, (if you use thick paper)
So be careful, but it is not the end of the world if it happens.


4. Trim the edges if not straight

5. Add tape to the edge and press closed

6. Add decorations with the glue


We made our entire thing rose/flower themed to match Rosie's name!


7.  Cut two pieces of twine, approximately the same length

8. Tape the twine inside the cone


9. To put it on, tie the twine under the cat's chin,
 and pop the hat over one ear to make it stay on.

10. Model!


11. Take the hat off your cat, since she is probably getting annoyed, and it is mean to.

Special thanks to Lilli for helping me out! Go to her blog to see how to make the cat birthday cakes that we made for Rosie and her sister!